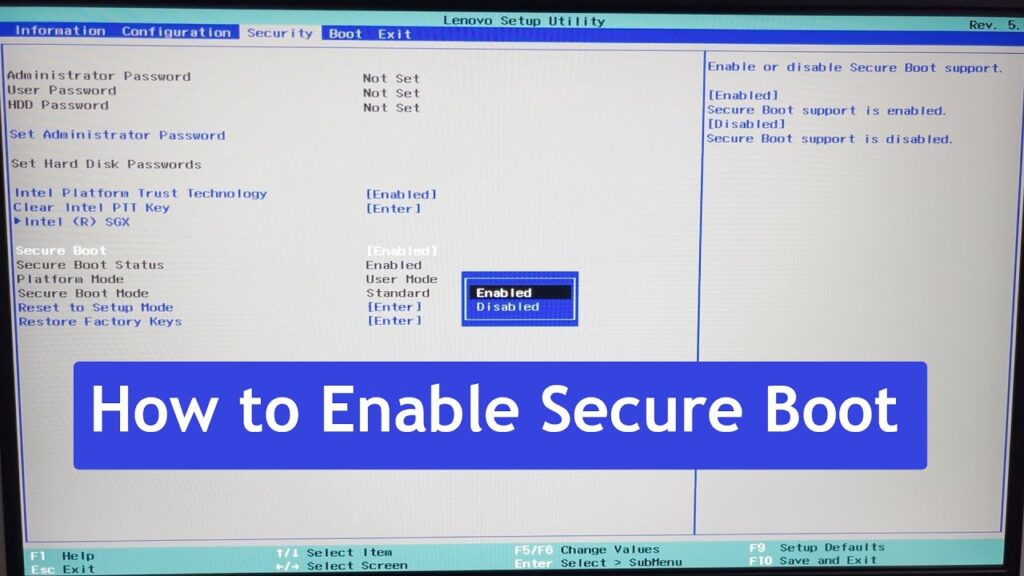
How to Enable Secure Boot on Your Computer
Secure Boot is a feature in modern computer systems that helps protect against malware and unauthorized operating systems from loading during the boot process. Enabling Secure Boot can enhance the security of your computer and prevent potential threats from compromising your data.
Step-by-Step Guide to Enable Secure Boot
Follow these steps to enable Secure Boot on your computer:
- Access the BIOS/UEFI settings by restarting your computer and pressing the designated key (usually F2, F10, or DEL) to enter the BIOS setup.
- Navigate to the “Security” tab using the arrow keys on your keyboard.
- Look for the “Secure Boot” option and set it to “Enabled.”
- Save your changes and exit the BIOS setup. Your computer will now boot with Secure Boot enabled.
Benefits of Enabling Secure Boot
Need Windows Remote Desktop? Access powerful Windows servers remotely with full admin privileges and lightning-fast SSD storage. Get RDP Access →
- Enhanced Security: Secure Boot helps protect your computer from malware and unauthorized software.
- Data Protection: By enabling Secure Boot, you can safeguard your important files and personal information.
- Peace of Mind: Knowing that your computer is equipped with Secure Boot can give you peace of mind when using the internet or downloading files.
It is essential to keep Secure Boot enabled on your computer to ensure the highest level of security. Regularly check your BIOS settings to verify that Secure Boot is still enabled and functioning correctly.
Final Thoughts
Enabling Secure Boot on your computer is a proactive step towards protecting your data and privacy. By following the steps outlined in this guide, you can enhance the security of your system and minimize the risk of cyber threats.
