How to Access vSphere: A Comprehensive Guide
Are you looking to access vSphere but aren’t sure where to start? Look no further! In this article, we will provide you with a step-by-step guide on how to access vSphere, a powerful virtualization platform that allows you to manage your virtualized data center efficiently. Whether you are a beginner or an experienced user, this guide will walk you through the process of accessing vSphere with ease.
What is vSphere?
Before we dive into how to access vSphere, let’s first understand what it is. vSphere is a virtualization platform developed by VMware that allows you to create and manage virtual machines (VMs) on top of physical hardware. It provides a centralized management interface, enabling you to manage your VMs, networks, and storage resources from a single console.
Accessing vSphere
Now that you know what vSphere is, let’s get started on how to access it. Here are the steps you need to follow:
- Step 1: Obtain vSphere Client
- Step 2: Install vSphere Client
- Step 3: Launch vSphere Client
- Step 4: Log in to vSphere Client
Step 1: Obtain vSphere Client
The first step in accessing vSphere is to obtain the vSphere Client. You can download the vSphere Client from the official VMware website. Simply navigate to the Downloads section and look for the vSphere Client download link. Make sure to download the appropriate version based on your operating system.
Step 2: Install vSphere Client
Need Reliable VPS Hosting? Get high-performance virtual servers with full root access, SSD storage, and 24/7 support. Get VPS Hosting →
Once you have downloaded the vSphere Client, follow the on-screen instructions to install it on your computer. The installation process is straightforward and should only take a few minutes to complete. After the installation is complete, you are ready to launch the vSphere Client.
Step 3: Launch vSphere Client
To launch the vSphere Client, simply double-click on the vSphere Client icon on your desktop or search for it in your list of installed programs. Once the vSphere Client is launched, you will be prompted to enter the IP address or hostname of your vSphere server.
Step 4: Log in to vSphere Client
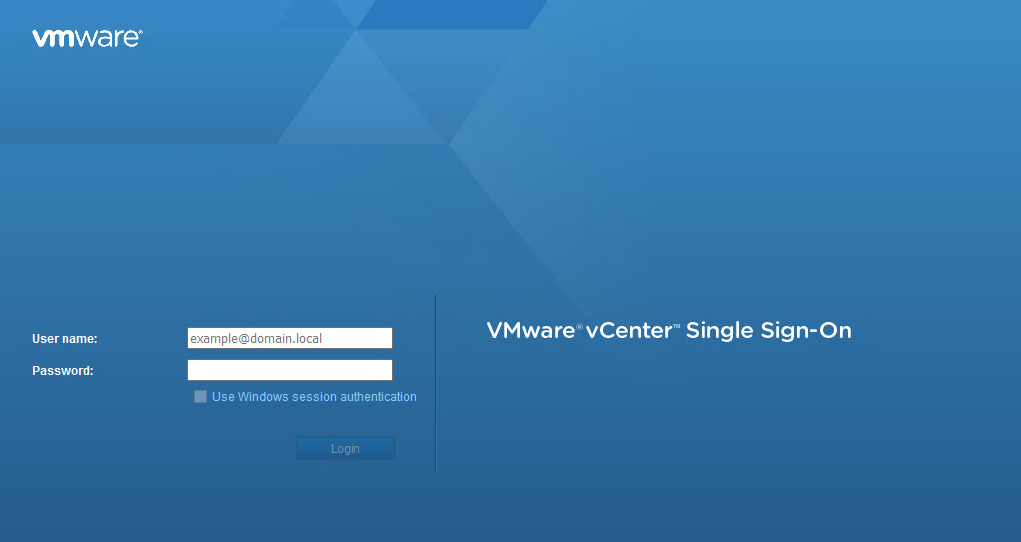
After entering the IP address or hostname of your vSphere server, you will be prompted to enter your username and password to log in to the vSphere Client. Once you have successfully logged in, you will be greeted with the vSphere dashboard, where you can start managing your virtualized data center.
Conclusion
Accessing vSphere is a straightforward process that anyone can accomplish with the right guidance. By following the steps outlined in this guide, you will be able to access vSphere and take advantage of its powerful virtualization capabilities. Whether you are a system administrator or a virtualization enthusiast, vSphere provides you with the tools you need to manage your virtualized infrastructure efficiently.
So, what are you waiting for? Get started on accessing vSphere today and unlock the full potential of virtualization technology!
