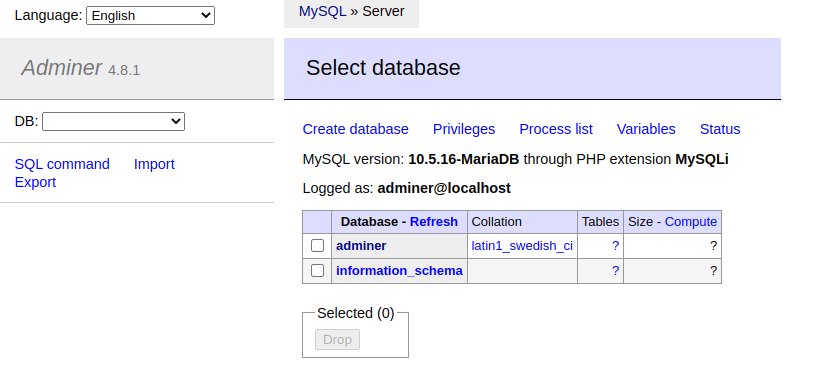
Adminer is a lightweight database management tool that allows you to easily manage your databases through a web browser. This article will guide you through the process of installing Adminer on your server.
Step 1: Download Adminer
The first step in installing Adminer is to download the latest version of the software from the official website. You can do this by visiting the Adminer website and clicking on the download link. Make sure to download the correct version for your operating system.
Step 2: Upload Files
Once you have downloaded the Adminer files, you need to upload them to your server. You can do this using an FTP client or by using your hosting provider’s file manager. Make sure to upload the files to a secure directory on your server.
Step 3: Configure Adminer
After uploading the files, you need to configure Adminer to work with your database. You can do this by creating a configuration file and entering the necessary database connection details. Make sure to secure this file and restrict access to it.
Need Reliable VPS Hosting? Get high-performance virtual servers with full root access, SSD storage, and 24/7 support. Get VPS Hosting →
Step 4: Access Adminer
Once you have configured Adminer, you can access it through your web browser by entering the URL of the Adminer file on your server. You will be prompted to enter your database credentials, and once you do, you will have full access to your databases through the Adminer interface.
Conclusion
Installing Adminer is a simple process that can greatly enhance your database management capabilities. By following the steps outlined in this article, you will be able to install Adminer on your server and start managing your databases more efficiently.
- Download the latest version of Adminer from the official website.
- Upload the files to your server.
- Configure Adminer to work with your database.
- Access Adminer through your web browser and start managing your databases.
